
Buying an NFT without checking it first is like buying a signed painting without turning it over to read the back. The image in a marketplace listing tells you almost nothing about whether the token behind it is real, who actually holds it, or whether it was minted by the artist you think it was.
An NFT check answers those questions using data that lives permanently on-chain. Every mint, sale, and transfer is recorded in public, so anyone can trace a token back to its origin — no permission, no middleman, no guesswork.
This guide walks through NFT ownership verification from the ground up: what “ownership” actually means on-chain, why the check matters, and the exact steps to confirm a token before money changes hands. We at NOWNodes provide node access and explorers for 120+ networks, so we’ll also cover how developers automate these checks at scale.
What Does It Mean to Verify NFT Ownership?
An NFT (non-fungible token) is a unique record stored on a blockchain that points to a specific piece of content — art, music, a game item, or a domain name. The token and its full history are public. The file it references usually is not stored on-chain, and that gap is where most of the confusion starts.
Verifying ownership means answering one precise question: which wallet address does the blockchain currently list as the holder of this exact token? On Ethereum and most compatible chains, that answer comes from a single smart-contract function.
ownerOf(tokenId): a function defined in the ERC-721 standard that returns the wallet address currently holding a specific token. Call it on the NFT’s contract and the chain tells you, without ambiguity, who owns token #1234.
Because this comes straight from the contract, it can’t be spoofed by a screenshot or a marketplace profile. A seller can copy an image in seconds; they cannot rewrite what ownerOf returns.
Ownership vs. Authenticity — Two Different Checks
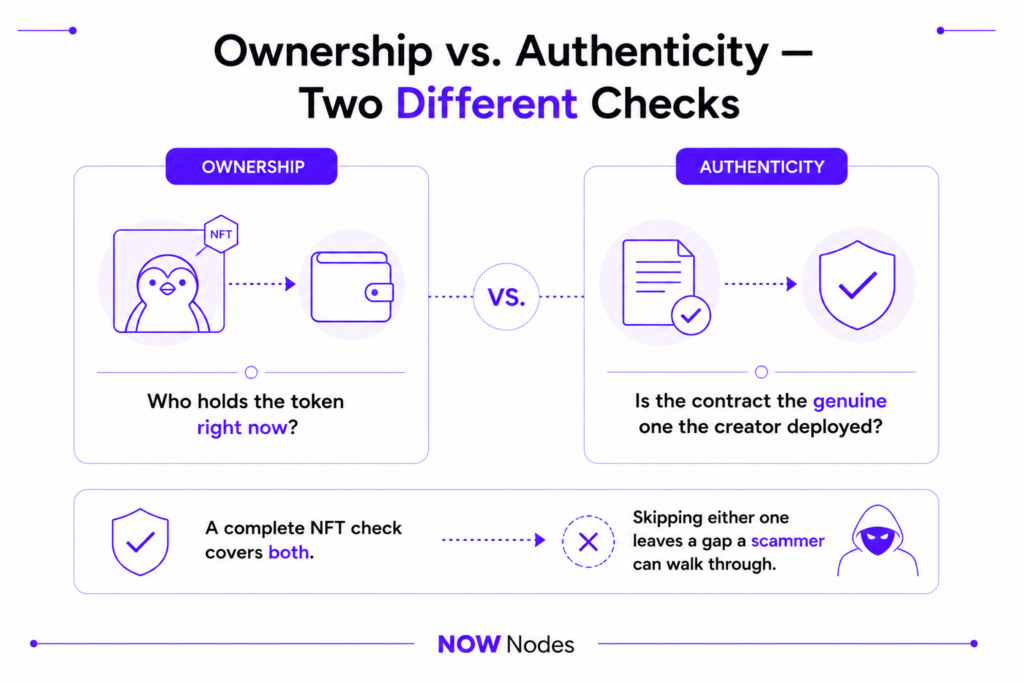
People tend to merge these, but they’re separate questions. Ownership verification confirms who holds the token right now. Authenticity verification confirms that the contract itself is the genuine one the creator deployed — not a clone with an identical picture.
A complete NFT check covers both, and skipping either one leaves a gap a scammer can walk through. We’ll handle each below.
Why an NFT Check Matters Before You Buy
The fraud here isn’t hypothetical. A Chainalysis investigation identified 262 addresses engaged in NFT wash trading; the 110 profitable ones pulled in roughly $8.9 million — largely from buyers who thought they were purchasing tokens with organic price history.
The problem of empty value runs deeper. One analysis covering 73,257 NFT collections found that around 69,795 of them — over 95% — had essentially no market value, leaving millions of holders with tokens worth close to nothing. Trading volumes have also fallen more than 80% from their 2021–2022 peak, so liquidity for a bad buy is thin.
Then there’s outright forgery. Scammers routinely clone a popular collection’s artwork, deploy it under a different contract address, and list it at a tempting discount. The picture is identical; the contract is worthless.
A subtler attack is sleep minting. As Michael Blau of a16z crypto puts it, “The most authentic provenance for an NFT is when it is initially minted directly from a creator’s wallet or a smart contract that the creator owns.” Sleep minting fakes exactly that — a scammer mints a token into a famous artist’s wallet, then claws it back, making the chain appear to show a legitimate creator sale.
Here’s why this matters: every one of these tricks falls apart under a proper on-chain check. The fake collection has the wrong contract. The sleep-minted token shows a transfer the creator never actually signed. The proof is already there — you just have to read it.
Who Needs to Verify NFTs?
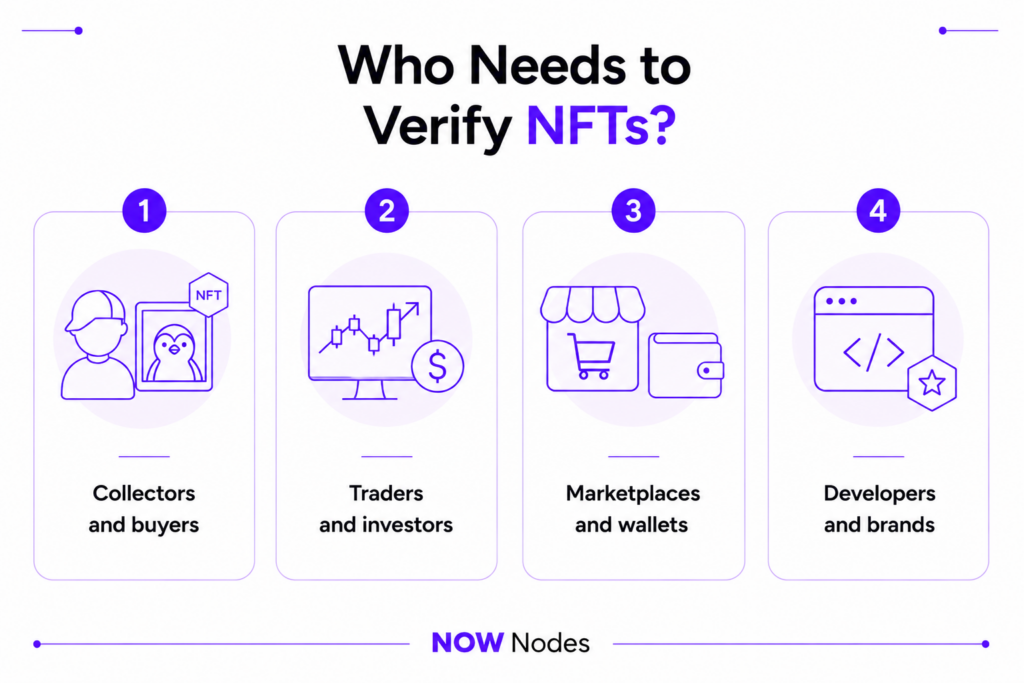
NFT ownership verification isn’t only for cautious first-time buyers. Plenty of people run these checks as part of their daily work, and several groups rely on them as routine practice:
- Collectors and buyers confirming a token is authentic and that the seller actually holds it.
- Traders and investors checking provenance and transfer history before committing real capital.
- Marketplaces and wallets that show “verified” badges and filter counterfeit contracts out of search.
- Developers and brands building apps that gate access, reward holders, or tie physical goods to an on-chain token.
The common thread is trust. None of these parties want to rely on a seller’s word when the blockchain already offers proof.
How to Verify NFT Ownership Step by Step
You don’t need to write code to run a basic NFT check. An explorer such as Etherscan exposes everything you need for an Ethereum token, and Solscan, Tonviewer, and similar tools do the same on other chains. Here’s the process.
Step 1 — Find the Contract Address and Token ID
Open the listing on its marketplace — on OpenSea, scroll to the Details section — and copy two values: the contract address (a 42-character string starting with 0x on Ethereum) and the Token ID. Together these uniquely identify the NFT anywhere on-chain.
Step 2 — Look Up the Current Owner
Paste the contract address into the explorer’s search bar and open the token’s page. Use the Read Contract tab and call ownerOf with your Token ID. The address it returns is the real, current owner — compare it against the seller’s wallet. If they don’t match, stop right there.
Step 3 — Trace the Transfer History
Every explorer lists a token’s full transfer log: the original mint, each sale, and every wallet in between. Confirm the first entry is a mint from the creator’s official wallet or contract. A token that appears mid-history with no mint, or one minted by an unknown address, is a red flag worth pausing on.
Step 4 — Confirm the Contract Is the Official One
This is the authenticity half of the check. Cross-reference the contract address against the project’s verified sources — its official website, its X account, or its verified marketplace page. A genuine collection lives at one specific contract; anything else sharing the artwork is a counterfeit, no matter how polished the listing looks.
Step 5 — Inspect the Metadata
Finally, read the token’s metadata through its tokenURI. It should point to the same image and traits shown in the listing, ideally pinned on IPFS or Arweave rather than a mutable private server. Editable or mismatched metadata means the visuals could quietly change after you buy.
| Step | What you check | What it proves |
|---|---|---|
ownerOf lookup | Current holder address | The seller actually owns it |
| Transfer history | Mint + every transfer | Provenance is legitimate |
| Contract address | Official vs. copy | The collection is real |
Metadata / tokenURI | Image + trait source | The asset can’t silently change |
How to Check an NFT on Different Blockchains
Not every chain works like Ethereum, and knowing the difference keeps you from checking the wrong thing. The core idea is the same — read ownership from the source of truth — but that source varies.
On Ethereum and other EVM networks such as Polygon, BNB Smart Chain, and Base, the ERC-721 ownerOf function and Transfer events are authoritative. On Solana, ownership sits in token accounts rather than a single function, so an explorer like Solscan shows the current holder and the mint authority — confirm the collection is flagged as verified.
TON handles it differently again: the collection contract is the authority. As the official TON documentation explains, you verify an item by asking the collection for the address at its index and confirming it matches the item’s own address. Bitcoin Ordinals, meanwhile, tie ownership to a specific satoshi, so you trace the inscription on an Ordinals explorer.
| Chain | Explorer example | How ownership is checked |
|---|---|---|
| Ethereum / EVM | Etherscan, Polygonscan | ownerOf(tokenId), Transfer logs |
| Solana | Solscan | Token account holder + verified mint |
| TON | Tonviewer | Collection contract index match |
| Bitcoin | Ordinals explorers | Inscription on a specific satoshi |
Automating NFT Ownership Verification With NOWNodes
Checking one token by hand is easy. Verifying thousands — for a marketplace, a wallet, an airdrop, or a holders-only app — needs direct programmatic access to on-chain data, and that’s where a node provider replaces the manual explorer.
Instead of running and syncing your own server for every chain, you query a node endpoint over an API and read ownership straight from the contract. A single eth_call to ownerOf returns the holder; batch those calls and you can validate an entire collection in seconds.
NOWNodes provides that access across 100+ networks, with explorers for chains like Bitcoin, Ethereum, Litecoin, and Dogecoin included. The infrastructure runs at 99.95% uptime with roughly 0.6-second average response times, and the free START plan covers 100,000 requests per month — enough to build and test an NFT checker before you scale up. See how to connect to an Ethereum node →
bash
# Read the current owner of token #1234 via a NOWNodes Ethereum endpoint
curl https://eth.nownodes.io/YOUR-API-KEY \
  -X POST -H "Content-Type: application/json" \
  -d '{"jsonrpc":"2.0","method":"eth_call",
       "params":[{"to":"0xCONTRACT","data":"0x6352211e...TOKENID"},"latest"],"id":1}'
The response is the owner’s address — the same answer the explorer gives you, now available to your code. From there you can flag mismatches, watch Transfer events for sleep-minting patterns, or power a “verified holder” feature without trusting anyone’s word. Read the NOWNodes API docs →
Conclusion
Verifying an NFT comes down to trusting data over appearances. The image in a listing proves nothing; the contract address, the ownerOf result, and the transfer history prove everything. Run those four checks — current owner, provenance, official contract, and metadata — and the common scams have nowhere left to hide.
For a one-off purchase, a free explorer is all you need. For anything at scale — a marketplace, a wallet, a holders’ app — programmatic access through NOWNodes turns the same checks into a few lines of code across 100+ chains. Either way, the rule holds: verify first, buy second.
FAQ
What is an NFT check?
An NFT check is the process of confirming a token’s ownership and authenticity from on-chain data. It answers who currently holds the token, who minted it, and whether the contract is the genuine one — all readable on a public explorer, with no permission required.
What is an NFT check?
Find the NFT’s contract address and Token ID (both listed in the marketplace’s details), look them up on an explorer such as Etherscan, and call ownerOf to see the current holder. Compare that address to the seller’s wallet; if they differ, the seller doesn’t actually own the token.
Can NFT ownership be faked?
The ownerOf record itself can’t be forged, but provenance can be manipulated. Sleep minting makes a token look like it was minted and sold by a famous creator when it wasn’t — which is why you check the real transaction signer, not just the Transfer event that’s displayed.
What is the best NFT checker tool?
For manual checks, chain-native explorers like Etherscan (Ethereum), Solscan (Solana), and Tonviewer (TON) are free and authoritative. For automated NFT ownership verification, a node provider such as NOWNodes lets you query the same data programmatically across 100+ networks.
How do I know if an NFT is authentic and not a copy?
Match the contract address against the project’s official website or verified marketplace page. Scammers can clone the artwork but can’t reuse the original contract, so a mismatched address is the clearest sign of a counterfeit.
Is NFT ownership verification free?
Yes. Reading ownership and history on a public explorer costs nothing. Costs only appear when you automate checks at volume through an API — and even then, the NOWNodes free START plan includes 100,000 requests per month.
Can I verify NFTs on any blockchain?
Most major chains have a public explorer and a documented way to read ownership — ownerOf on EVM chains, token accounts on Solana, collection-index checks on TON. A multi-chain node provider lets you cover them all through one API instead of learning each interface separately.
How can I track the ownership history of a Solana NFT collection using an explorer without coding?
Open an NFT’s mint address in Solscan or Solana Explorer and check the Transfers or Activity tab. It lists every sale and transfer with wallets, dates, and signatures. For a collection-wide feed, use the Activity tab on Magic Eden.